The installation and maintenance of wooden floors do not necessarily require the intervention of a professional. To install, maintain, and keep this type of flooring in good condition for a longer period, a few simple DIY actions are needed.
Wooden flooring adds a touch of warmth to a room. Narrow boards, single-strip or multi-strip, are particularly suitable for small areas, while wide boards are ideal for large rooms. The installation of wooden floors is relatively easy and requires the following tools in most cases:
- a tape measure and a pencil to measure and mark references;
- a hammer to nail the wooden boards, and possibly a pair of pliers;
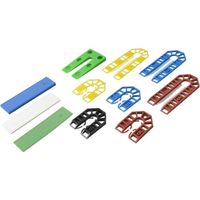
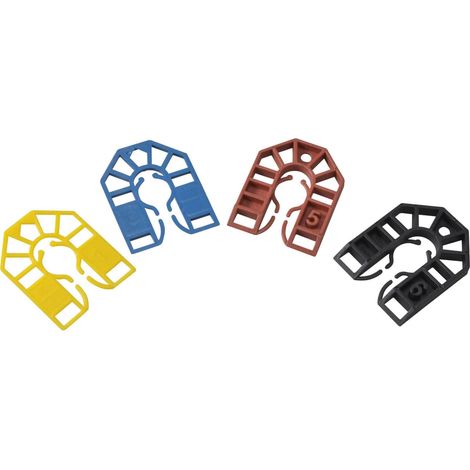
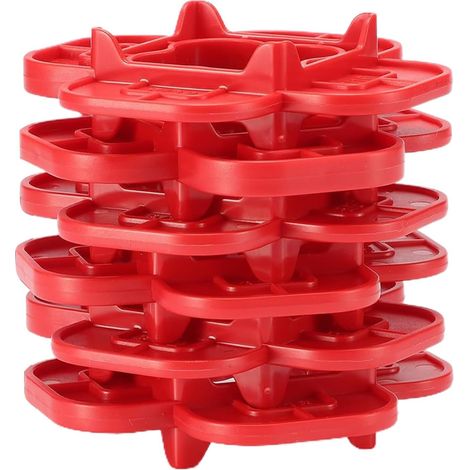
- two board spacers to maintain a constant gap between two boards from one end of the floor to the other;
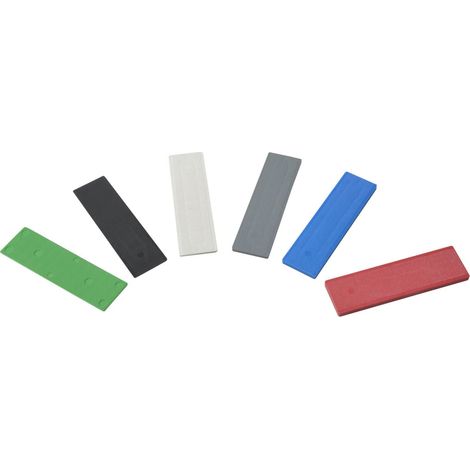
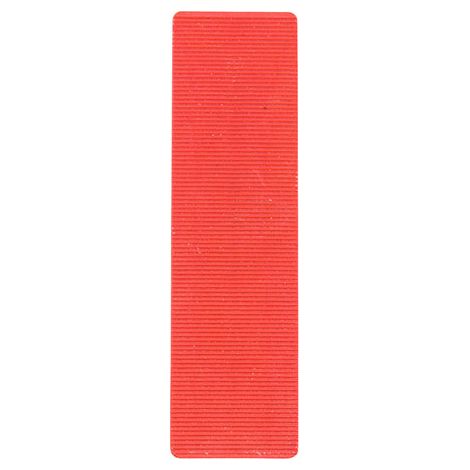
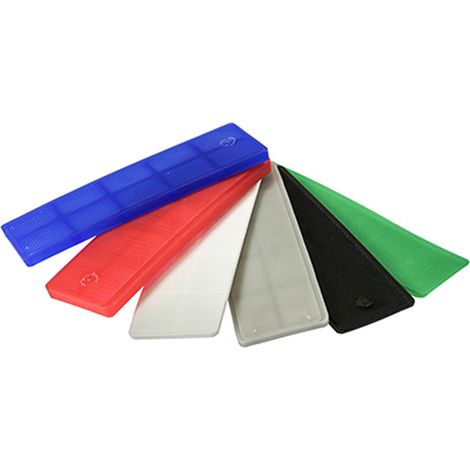
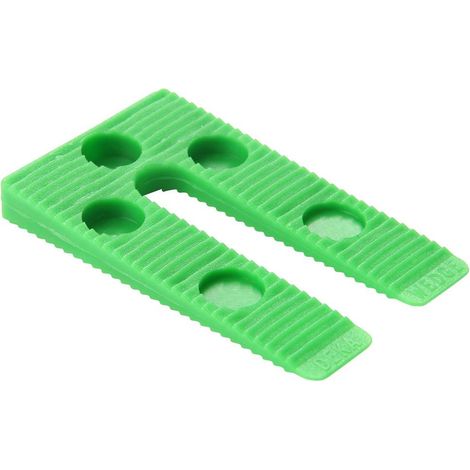
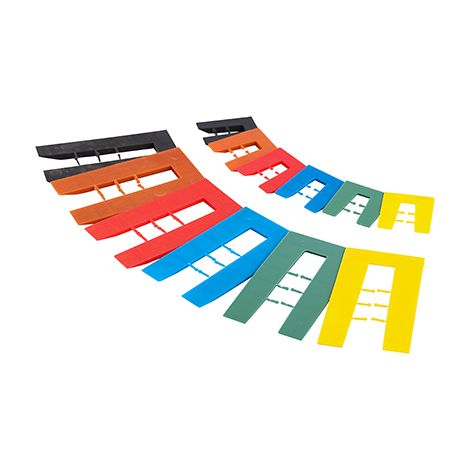
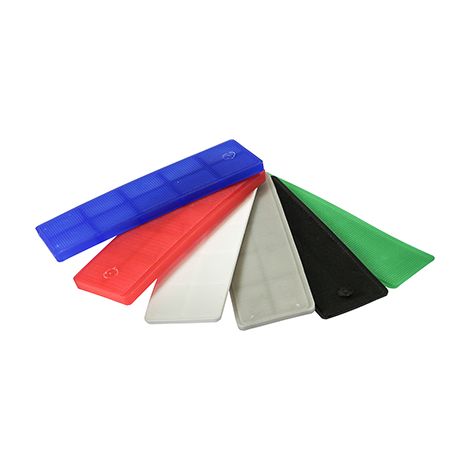
- expansion wedges so the floor can expand without warping;
- a knocking block to click the boards together;
- a jigsaw, circular saw, or miter saw to make cuts during the installation of wooden floors;
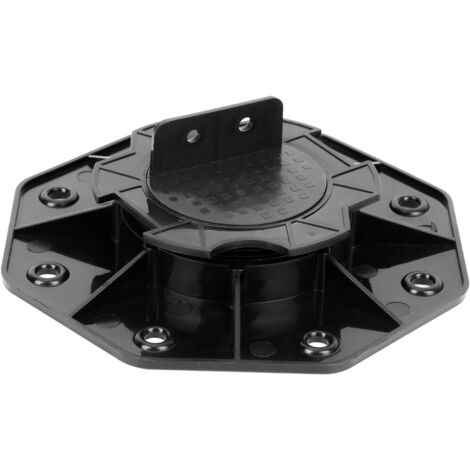
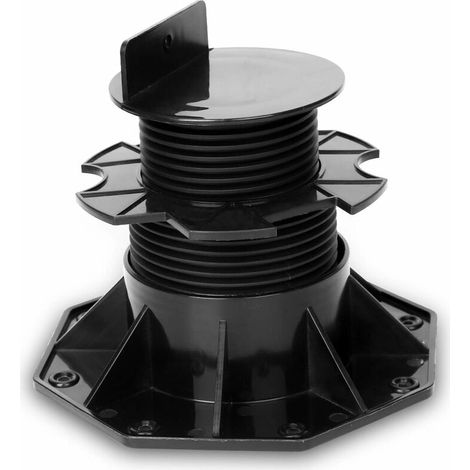
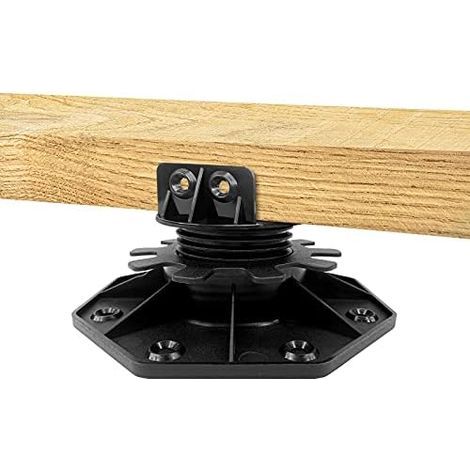
- optionally, adjustable supports for outdoor installations or joists for indoor installations to support the boards.
To achieve an aesthetic and refined result, regular maintenance of wooden floors is required. Wet cleaning is not recommended to avoid swelling the wood and damaging the floor. A simple wipe with a cloth or damp mop is sufficient. If you spill water on the floor, it is advisable to mop it up as quickly as possible. It should be noted that in the event of flooding, it might be inevitable to replace boards that have swollen and could not return to their original shape after drying.
Additionally, it is necessary to protect the wood by applying oiling, polishing, laminating, or varnishing products. This approach is also part of the maintenance of wooden floors and should be done annually.
In short, an amateur handyman can easily handle the installation and maintenance of wooden floors if they have the right tools and some basic notions.
'/%3E%3C/svg%3E)















'/%3E%3C/svg%3E)