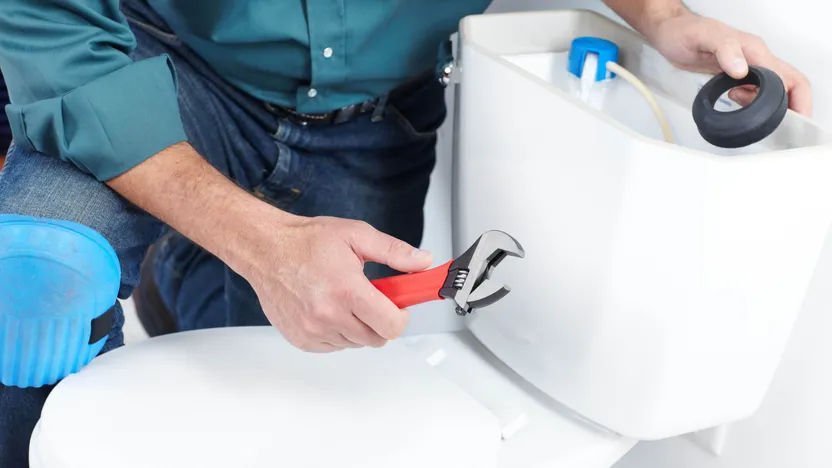
How to change a push button toilet flush
'/%3E%3C/svg%3E)
Guide written on 6 February 2024 by:
Michael, Professional and passionate welder, Sheffield
Important features
- Saving water
- Emptying the cistern and removing the old mechanism
- Removing the cistern
- Removing the old system and fitting the new one
- Refitting the cistern
- Installing the float valve
- Replacing the cistern lid
- Testing out your new flush system
Save water by replacing your toilet flush unit
If your toilet is constantly leaking, you will have to replace the flush mechanism. You'll find a wide range of models on the market but the smartest choice is to go with a water-saving dual push button flush. This system allows you to reduce your water consumption and is fitted in exactly the same way as a single push button.
After choosing your new flush system – making sure it is compatible with your close-coupled toilet – check that your shut-off and float valves are in good condition. From this point, the process of fitting your flush should be relatively quick and easy. With a bit of time and patience, your leaking toilet will be a thing of the past!
Steps
Emptying the cistern and removing the old mechanism
Removing the cistern
Removing the old system and fitting the new one
Refitting the cistern
Installing the float valve
Replacing the cistern lid
Testing out your new flush system
flush system
1. Emptying the cistern and removing the old mechanism
Start by isolating the water supply to your cistern (if you haven't already turned off the main water line).
Flush the toilet to empty the cistern.
If you have had the same system for a number of years, it's possible that you haven't used your shut-off valve; in this case, it may have some limescale damage. Double check to make sure this isn't the case. Otherwise, you will have to replace the valve. To do so, turn off your water at the main shut-off valve and disconnect the shut-off valve from the toilet bowl and water lines. Replace it with a new one using PFTE tape or some oakum and plumber's putty.
Unscrew the toilet flush push button and remove the cistern lid.
Unscrew the toilet shut-off valve or the water line linking it to the cistern.
Remove the float valve by unscrewing the fixing screw at the top of the cistern (if you plan on replacing this part).
PFTE tape
2. Removing the cistern
To separate the cistern from the toilet bowl, you will have to unscrew the two wing nuts found beneath the cistern. Keep the screw still in the inside of the cistern using a screwdriver and unscrew the nuts from underneath.
If the threaded rods are rusty and the wing nuts are stuck, apply some penetrating oil or cut the rods using a metal-cutting saw.
Drain all remaining water into a basin and dry the inside of the cistern using a cloth.
Remove the watertight seal found between the toilet bowl and the cistern, and clean the surrounding area using a scouring sponge.
Place the cistern down carefully on a flat surface or on top of the toilet bowl.
Nuts
3. Removing the old system and fitting the new one
To remove the flush mechanism from the cistern, you will generally only need to unscrew it by a quarter turn.
Next, unscrew the plastic nut from the bottom of the cistern using the tool provided or a pair of water pump pliers.
Clean the area around the seals using a scouring sponge.
Replace the seal with the new one provided and fit the new flush system inside the cistern.
Screw the nuts onto the threaded rod coming out of the cistern and tighten them using the appropriate spanner.
4. Refitting the cistern
Place the new watertight seal between the cistern and the toilet bowl.
Refit the cistern, taking care to ensure it is properly centred.
Secure the seals and fixing rods, ensuring everything is properly tightened (and therefore watertight).
5. Installing the float valve
If your new flush mechanism comes with a float valve, simply screw this into place.
Apply some PTFE tape around the thread and connect the float valve to the shut-off valve using the seal provided.
Adjust the height of the flush mechanism to fit the height of your cistern.
Measure out the water level inside the cistern by marking out the desired height according to the scale on the float valve.
6. Replacing the cistern lid
Replace the cistern lid.
Fit the push button shroud (if necessary).
Tighten the push button.
Make any adjustments as required.
7. Testing out your new flush system
Reconnect your water supply and wait until the cistern has filled completely.
Check that the seal between your cistern and toilet bowl is watertight and that the shut-off valve and float valve are at the right level.
Press the smaller flush button (to release around 3 litres), followed by the large button (to release around 6 litres).
Test everything once more to ensure your flush system is working perfectly.
Take any old parts to a recycling centre.
How to change a push button toilet flush
Required skills
Just about any DIYer should be able to replace a toilet flush system. Nonetheless, it is essential to read all instructions carefully and to follow the advice provided.
Completion time
1 hour
Number of people required
1 person
Tools and equipment
Basin
Cloth
Scouring sponge
Personal protective equipment (PPE)
Please note: this is a non-exhaustive list; be sure to match your PPE to the job at hand.
Protective clothing
You may be also interested in these guides
Guide written by:
Michael, Professional and passionate welder, Sheffield
I was trained as a pipe worker and a pipe-welder and after having travelled for 35 years working around the UK, I became the head of a metal shop, then a designer and in the end the head engineer. I have designed and built a workshop where I make metal sculptures: I managed to find a piece of paradise where I can let my imagination run wild. Auctions and garage sales are no secret to me. I find unusual objects and old tools there that I collect or transform into works of art. I also like decoration, painting on canvas, and gardening. I am developing new technologies concerning tools. To share my passion and advise you in your choice of materials is a real pleasure.