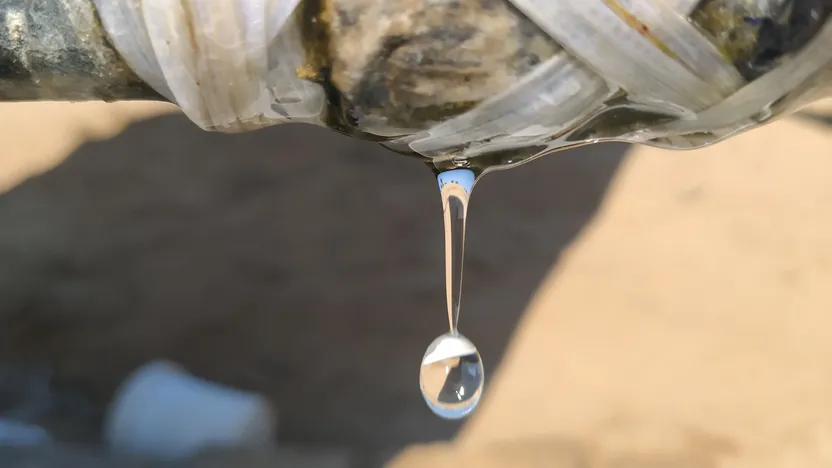
How to repair a leak at home
'/%3E%3C/svg%3E)
Guide written on 6 February 2024 by:
Jérôme, Construction site supervisor, Cardiff
Important features
- Locate the leak
- Turn off the water and drain the pipes
- Repair the leak
- Run the water to check that the seal is watertight
Best sellers in this category
The main causes of leaks in the home
If you notice a leak, your first instinct should be to shut off the water to relieve pressure on the pipe and stop the flow of water. If you don't act quickly, the leak could create water damage. But before we move on to repairing the leak, let's first figure out what caused it.
Accidental damage
Think back about any DIY tasks you've done recently. When moving your cupboard, did you bang it against the radiator pipes that run along the skirting boards? Did you accidentally pierce a PEX pipe while drilling through a wall? Any number of common household accidents could be to blame, so think carefully about anything you might have done to trigger the leak.
Weather
Have there been any major temperature changes in recent days? Extreme heat can cause pipes to expand, crack and even burst. The same goes for negative temperatures: when water freezes, it expands which can lead to cracked or burst pipes.
Central heating
Restarting your central heating system after the summer months can cause long-dormant plumbing joints to expand and crack.
'Sweating' pipes
Condensation on pipes can look like a leak but is actually cause by a completely natural reaction between the cold external water supply flowing through your pipes and room-temperature air. It's the same process that causes a cold can to 'sweat' when taken out of the fridge on a hot day. So, no need to panic in this case! To prevent condensation, simply fit your pipes with insulation.
Generally speaking, it is quite rare for a leak to develop in the middle of a pipe (with the exception of frozen pipes). In most cases, the leak develops around the pipe fittings or joints. If you have leaking copper pipes, you may need to re-solder.
Leaking traps
Nine times out of ten, leaks under kitchen and bathroom sinks, showers and bathtubs can be chalked up to a faulty fitting near the waste trap and/or plug. To check for leaks, give the pipes a thorough wipe down, then run the water. Now, keep an eye out for water or run your hand along the pipes to find the location of the leak.
You'll then need to disassemble and clean the trap and change any old washers, seals and/or O-rings. Finish by reconnecting the waste trap to the drain pipe and reassembling the trap. If the leak is coming from fittings that are glued in place, remove the affected parts and replace them, taking care to glue the new fittings properly. Be sure to place a bucket or basin under the trap to catch any residual water. Quick tip: check the prices before you buy new washers or seals: a full waste trap kit may end up costing you less than a pack of washers!
Steps
Locate the leak
Turn off the water and drain the pipes
Repair the leak
Run the water to check that the seal is watertight
Required skills
To repair a leak, you'll need to be able to recognise the various plumbingfittings and have some basic plumbing skills (sealing a joint with PTFE tape or oakum, installing a compression fitting and so on).
Time required
30 minutes to 4 hours
Number of people required
1 or 2 people
Tools and equipment
Water pump pliers
Open ended spanners
Adjustable spanner
Pipe wrench
Cloth
Bucket
Personal protective equipment (PPE)
Protective clothing
Protective gloves
Safety goggles
Please note: this is a non-exhaustive list. Be sure to match your personal protective equipment to the job at hand.
1. Locate the leak
The powder technique
Before you remove and replace any seals, first make sure that the leak is located in the spot where you see water, as the water may actually be dripping down from a fitting located higher up. To find out, coat your index finger with powder, then run it over each fitting.If there is no leak, the powder will remain visible; where water is present, the powder will disappear. Since small leaks can be hard to spot with the naked eye, this surefire method is quite handy; just keep in mind that your pipes need to be full and pressurised for it to be effective.
Best sellers in this category
2. Turn off the water and drain the pipes
Once you've identified the problem joint, shut off the water supply to that section of the installation and drain it.Depending on the type of installation, you'll need to either turn the valve to the "on" position or drain the bleed valve.Have a bucket and some cloths on hand to prevent water damage.
3. Repair the leak
Begin by dismantling the pipework.Your plumber should have installed the necessary unions or couplings for easy disassembly.Simply use the appropriate tools (water pump pliers, pipe wrench, etc.) to unscrew these fittings and remove the damaged piping.Once you've dismantled the fitting, clean the pipe threads, discard the old seal and use a wire brush to remove any limescale build-up.
Depending on the type of fitting, you may need to make a new seal. Oakum and plumber's putty or PTFE tape can be used to create a watertight seal on threaded pipe joints.
If you are using a compression fitting to form a seal between two straight connections, you will need to use a flat washer.
Once the seals are watertight, you can go ahead and reassemble the fittings using the appropriate tools: depending on your situation, you may need an adjustable spanner, pipe wrench or Stillson wrench.
Replacing a section of copper tubing
If your copper pipe is cracked or corroded, you'll need to replace the damaged section. To do so, simply cut the tubing at about 20 centimetres from each side of the leak point and use compression fittings to connect a new section of tubing of the same size.
4. Run the water to check that the seal is watertight.
To run the water, first close off the point from which you've drained, then gradually turn the fill valve to the "on" position, checking the repaired joints for leaks as you go.Next, vent air out of the pipes.
If you've run the water and everything looks normal, that's a good sign. But you're not done yet: a small amount of air may still be trapped in your pipes. Use the high point vents to let out any residual air.
Still no leaks? Looking good! Now it's time for one final test. Simply repeat the powder technique: coat your finger with powder and run it over the new fittings. If your finger comes up dry, congratulations: you've just repaired a leak in your heating system!
You may be also interested in these guides
Guide written by:
Jérôme, Construction site supervisor, Cardiff
Electrician by trade, I first worked in industrial estates where I installed, wired and fixed a large number of electrical installations. After this, I managed a team of electricians for this type of work. 10 years or so ago, I turned to building and construction. From the modest family home, to gyms and theatres, I have been able to coordinate, audit and organise all sorts of construction sites. For 4 years now, I am restoring and building an extension to a bungalow in the heart of the Welsh countryside. My experience in manual work and my knowledge means I am proud to be of service. Terraces, interior design, roofing, plumbing, electrics, anything goes! My wife, daughter and I, built almost everything we have from scratch! So to answer all of your questions and advise you on choosing your tools? Easy!
'/%3E%3C/svg%3E)