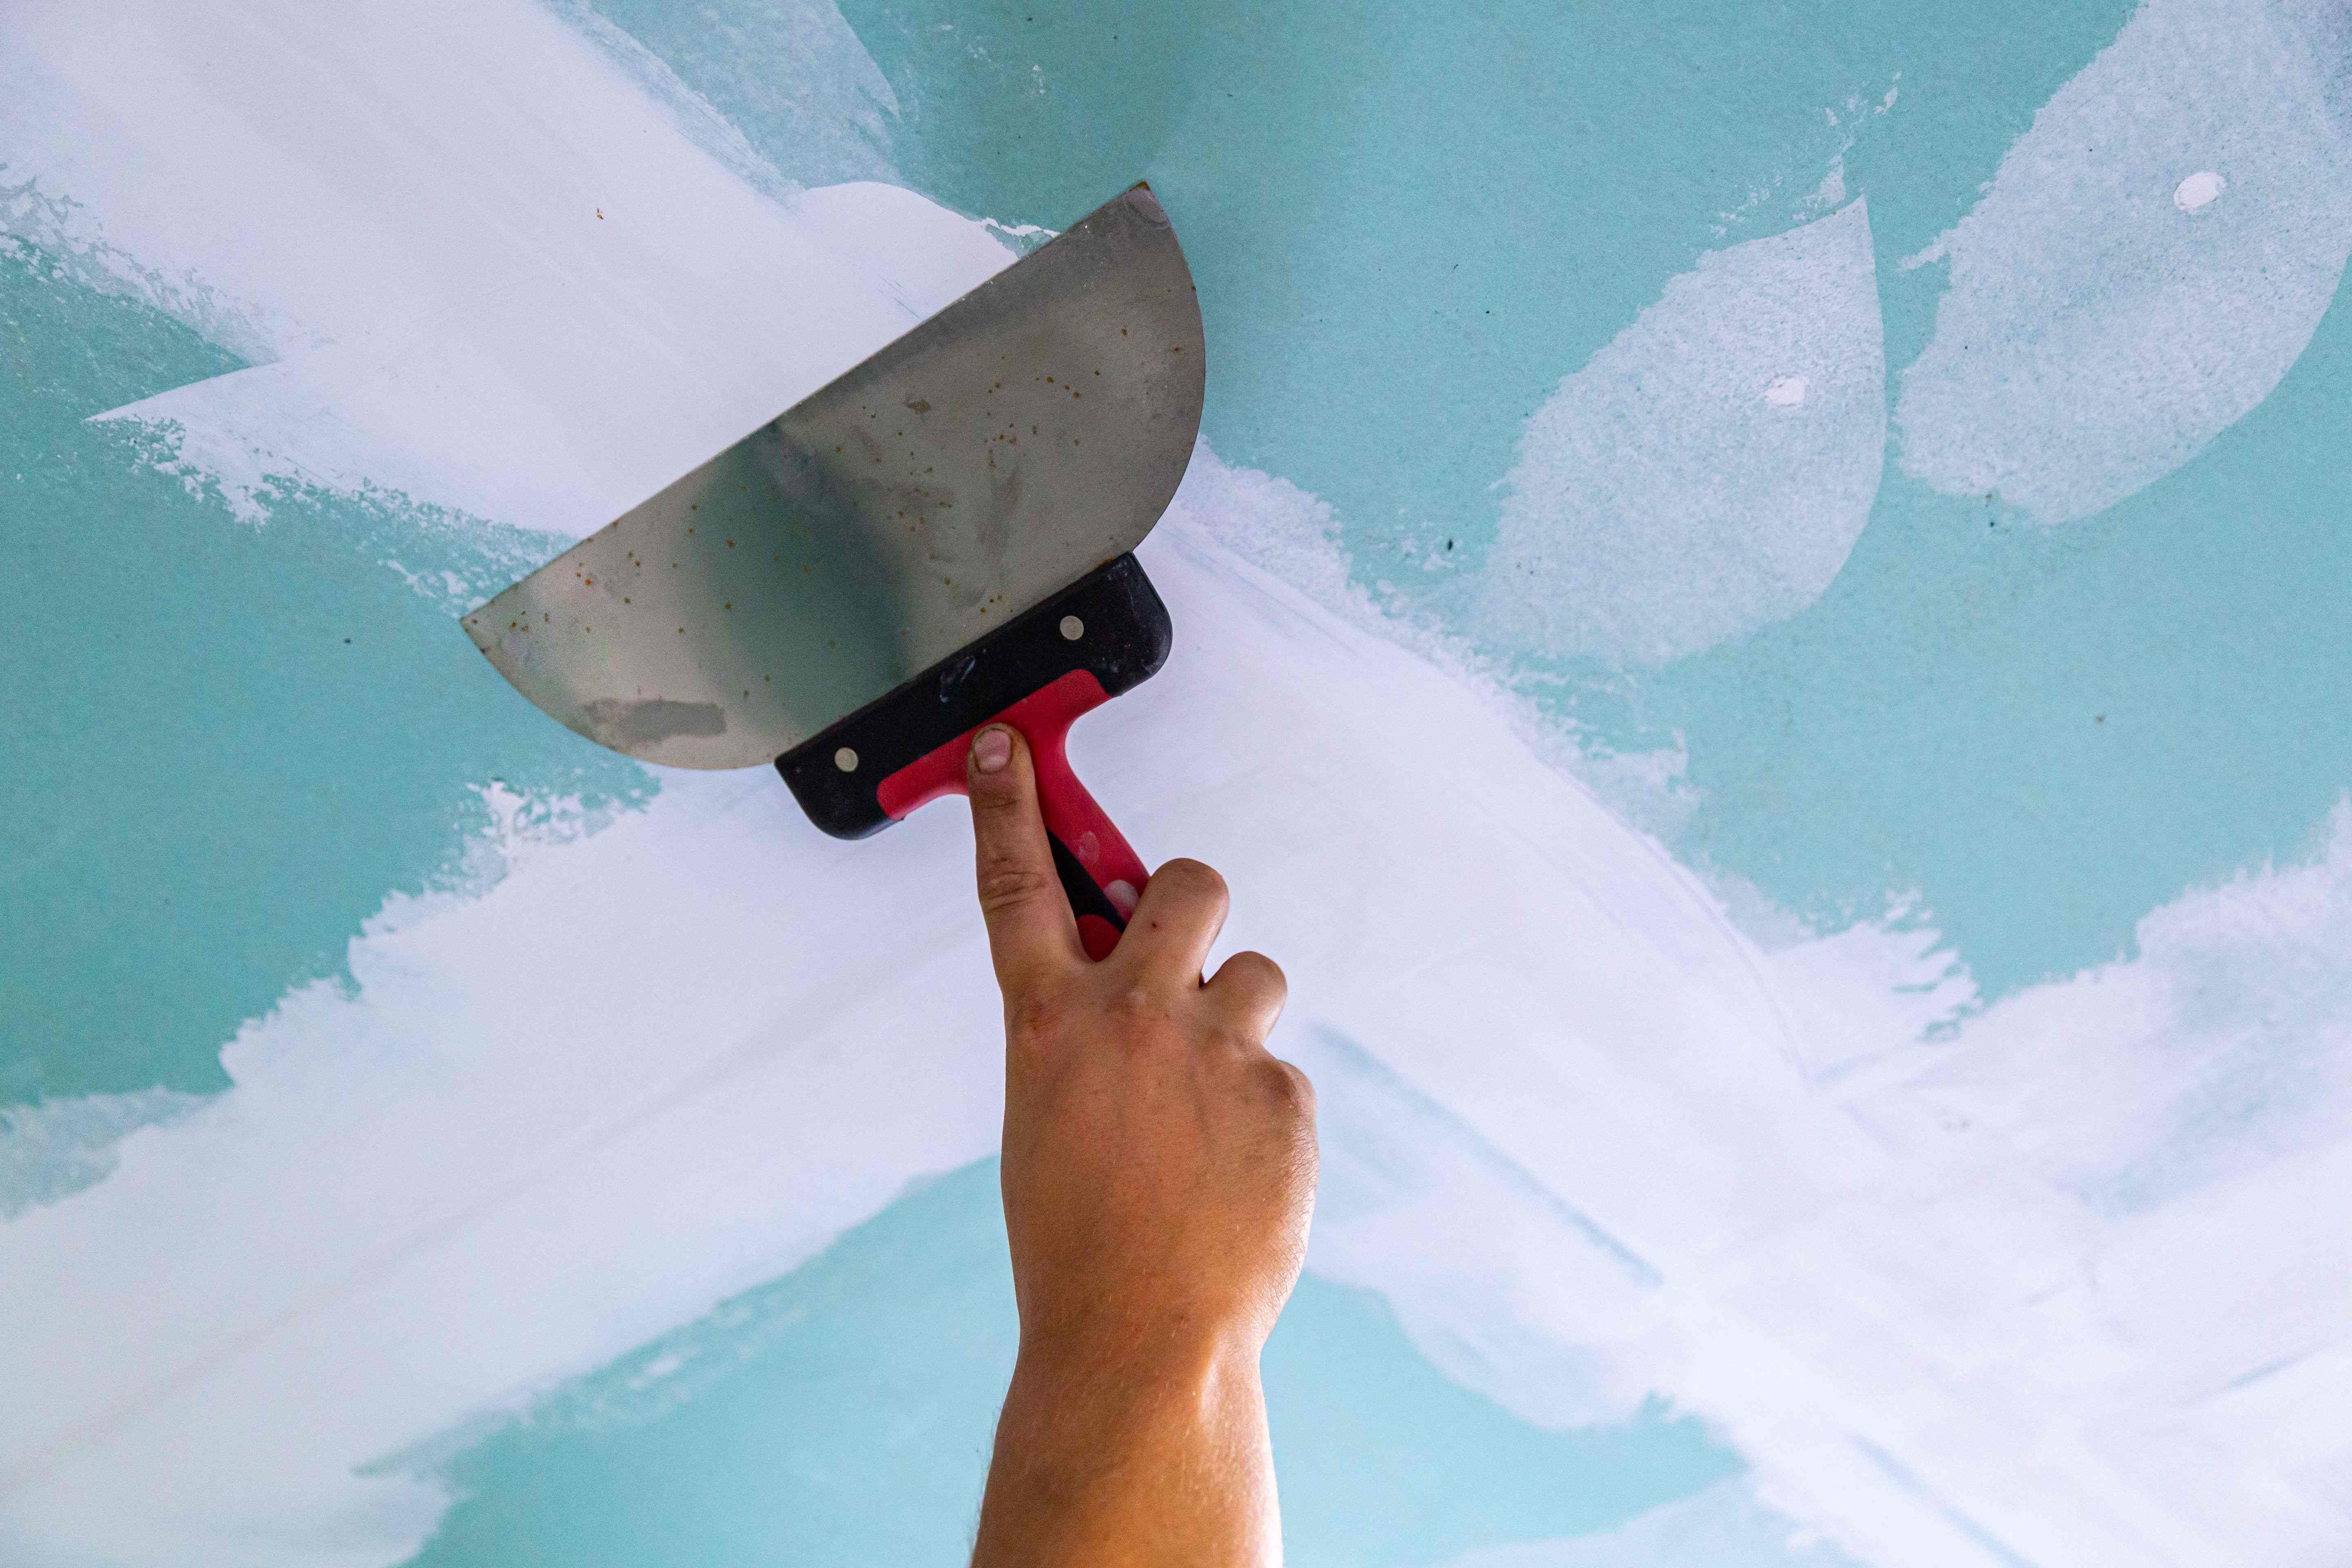
How to tape and joint plasterboard
Guide written by:
Jenny, construction and gardening writer, Oxford
Important features
- Preparing to tape and joint plasterboard
- Filling the plasterboard joints
- Coating the joints with jointing compound
- Sanding
Filling plasterboard joints: an essential step
Filling the joints between your plasterboards is not optional. While jointing does make for a perfectly smooth and flush finish, it also helps to prevent cracks and ensure your plasterboard will last.
But you do need to pick the right products. Start by selecting the correct jointing compound. It is possible to find ready-mixed compounds which are really easy to use. If you have a little more experience, you might want to use a powder which you'll have to mix water yourself. In terms of jointing tape you can choose between a basic paper jointing tape and a scrim tape. Scrim tape is self-adhesive and features a stronger webbed structure which is better for dealing with uneven corners.
Steps
Prepare to joint the plasterboard
Fill the gap between the boards
Apply the jointing tape
Sand the joints
Tape
1. Prepare to joint your plasterboard
Check that you have all the materials you need within reach. This includes your ready-mixed jointing compound, paper joint or scrim tape and a jointing knife or roller. If you have gone for a powder, now is the time to mix it with water using a drill fitted with a mixing attachment. Jointing compound should be applied using a jointing knife or scraper.
Dust off your plasterboard carefully to help the jointing compound to adhere properly. Take this time to ensure that there aren't any screw heads sticking out of your boards.
Measure the length of the joint with a tape measure then cut your paper joint tape or scrim tape to the correct length. Be sure to use the right type of tape for the Jointing compound">jointing compound you are using. Similarly, ensure you are using the correct product for your task; for example scrim tape is better for protruding corners.
<a href=
2. Fill the gap between your boards
Fill the joints between your boards. This gap should not measure any more than 1 mm. If your joint is larger, you may have to fill it with mortar before you apply jointing compound.
Apply a generous amount of Jointing compound">jointing compound working from the top of your surface to the bottom then smooth over the area making sure to cover the area surrounding the joint too. It is possible to apply jointing compound using a roller but this takes a bit of practice.
Mortar
3. Apply your jointing tape
Fold the tape in half and along its entire length ensuring it is facing the right way up if there is one; some paper joint tapes feature a printed side which is designed to sit against the plasterboard.
Apply the paper joint tape to the wet Jointing compound">jointing compound starting with the outer corner and working from top to bottom.
Use a jointing knife or scraper to apply some gentle pressure to the jointing tape to release any excess compound or air bubbles.
A second layer of jointing compound can then be applied to cover the entire surface of the tape. Depending on the type of compound you have used, you may have to wait until the first layer is dry (from 6 hours to several days) before applying your second coat. Alternatively, it may be recommended that you apply this coat while the first is still wet. Make sure to follow the manufacturer's instructions at all times.
Go over the joint with your jointing knife again and ensure the edges of the tape are flattened against the surface so you can't see them. Leave everything to dry following the manufacturer's instructions and apply a final layer of jointing compound over a wider area to cover up the edges. Use your jointing knife again as described above.
Fillers
4. Sand the joints
Wait until the Jointing compound">jointing compound is fully dry then sand it lightly to create a perfectly smooth finish. Don't forget to dust your surface down when you're done.
Once that is out of the way, you can move on to applying a skim coat!
<a href=
How to tape and joint plasterboard
Required skills
Applying Jointing compound">jointing compound
Sanding and dusting
Using tools like rollers, scrapers or jointing knives
Ability to read instructions carefully
Time required
One to several days depending on drying times
Number of people required
1 person
Tools and equipment
Paper jointing tape or scrim tape
Utility knife
Tape measure
Jointing knife or roller
Scraper
Sanding block
Safety wear
Dust mask (for sanding and dusting)
Please note: this is a non-exhaustive list; be sure to match your personal protective equipment to the job at hand.
Tape
You may be also interested in these guides
Guide written by:
Jenny, construction and gardening writer, Oxford