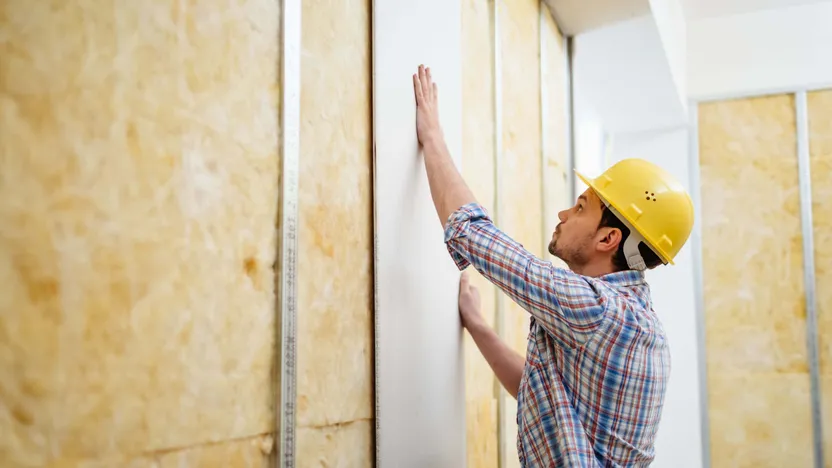
How to plasterboard a wall
'/%3E%3C/svg%3E)
Guide written on 6 February 2024 by:
Holly, self-taught DIYer, Cardiff
Important features
- Prepare to fit the plasterboard
- Cut the plasterboard to size
- Cut channels for electrical cables
- Fasten the plasterboard to the studs
- Joint the plasterboard
How to choose the right plasterboard
Also known as drywall, sheetrock or gyp board, plasterboard is made up of a board of gypsum sandwiched between two layers of recycled paper. It comes in standard widths of 900 and 1200mm and a range of different heights. Easy to install, plasterboard can be used to cover up an ageing wall or to add extra insulation without having to carry out any major building work.
Different types of plasterboard
Your choice of plasterboard depends on how you want to use it. The colour of the plasterboard will often indicate the type of application for which it is intended:
White is standard plasterboard.
Green is moisture-resistant plasterboard for use in bathrooms.
Pink is fire rated and ideal for use in the kitchen (around the oven, for example).
It's also possible to find plasterboard designed to provide thermal and/or acoustic insulation. Other types of plasterboard are specially designed to help purify indoor air. Be sure to read the product specifications to make the right choice.
Steps
Prepare to fit the plasterboard
Cut the plasterboard to size
Cut channels for electrical cables
Fasten the plasterboard to the studs
Joint the plasterboard
Prepare to fit the plasterboard
An existing metal or timber stud wall is often used when adding insulation to an interior wall. The vertical studs and horizontal braces that make up the stud wall also create a framework for plasterboard.
The plasterboard sheets should be kept in the room where they are to be fitted for a few days prior to installation to ensure they adapt to the temperature and humidity level of the room.
If your plasterboard is going all the way up to the ceiling, the sheets must not sit directly on the ground to prevent moisture rising into the sheets. To avoid this, you have a few options:
raise your plasterboard sheets on plasterboard offcuts (as pictured);
place spacers along the length of the wall;
use a plasterboard lifter to raise the boards slightly off the ground when installing.
Once your first plasterboard sheet is in position, insert self-tapping screws into your stud wall every 30 cm and 1 cm from the edges.
Cut the plasterboard to size
If you need to cut your plasterboard (for example, to insert electrical conduit as shown here) take your measurements very carefully.
Use a handsaw or hole saw to make your cuts.
If you need to cut the sheets themselves down to size, do so by placing them flat on the ground or on trestles. Use a utility knife to score the boards before snapping them or cut directly using a plasterboard saw and a rule to guide you. You can then plane down the edges of the sheets slightly to clean up the rough edge.
Straight edges and rules
Cut channels for electrical cables
Place your cut plasterboard sheet in place according to your measurements and feed the electrical conduit through the hole.
Fasten your screws through the stud wall taking care to avoid the conduit. If you have cut out a hole to fit a back box, now is the time to fit it.
Screws
Fasten the plasterboard to the studs
Continue screwing the plasterboard sheets into place one by one until the whole wall is covered.
Joint the plasterboard
When taping and jointing a plasterboard wall, you can either use a ready-mixed jointing compound or buy a compound powder to mix yourself. If you are using powder, simply add the correct quantity of water and mix it using a mixing paddle mounted on a drill.
Use a jointing knife or trowel to apply the jointing compound where the plasterboard sheets connect. This should generally be done working from left to right and top to bottom.
Cut your jointing tape, or scrim, to the right size. Fold the tape in half along its entire length and apply it to the joints between the plasterboard sheets from top to bottom. Make sure to do so on the right side – the printed side of the tape will usually go against the plasterboard.
Smooth out the tape carefully using a scraper or knife to remove any air bubbles or excess compound.
Do not forget to add jointing compound to your screw heads. Leave the compound to dry.
Jointing compound can take anywhere from 6 hours to several days to dry; be sure to follow the manufacturer's instructions. Once everything is thoroughly dry, apply a second coat of jointing compound over the tape.
Wait for the compound to dry once again before sanding down and dusting off the surface.
Remember to fill in the gap between the plasterboard and the ground as well as the space between the ceiling and plasterboard, using an acrylic mastic and sealant gun. And that's it – your plasterboard is fitted!
Tape
How to plasterboard a wall
Required skills
Taking accurate measurements
Choosing the right screws
Using a cordless screwdriver
Using a handsaw
Applying jointing compound
Sanding and dusting
Using tools like utility knives, jointing knives, etc.
Being able to work crouched down
Being able to work on a ladder
Following instructions
Time required
1 to several days depending on the size of the room
Number of people required
1 person
Tools and equipment
Safety and workwear
Please note: this is a non-exhaustive list; be sure to match your personal protective equipment to the job at hand.
Safety and workwear
More information
You may be also interested in these guides
Guide written by:
Holly, self-taught DIYer, Cardiff
First of all, my studies have nothing to do with decoration or DIY as I was specialised in management. My passion in DIY started 5 years ago (very recently!) Everything started when we bought a house to renovate from floor to ceiling. As I’m a self-taught person, I started working on different house projects both inside and outside. My husband helped me but the student soon overtook the teacher! And as there are a lot of green spaces in Wales, gardening tools have no secrets for me. My friends and family often come to me for advice when it comes to DIY. Today, I want to share this knowledge with you!
'/%3E%3C/svg%3E)