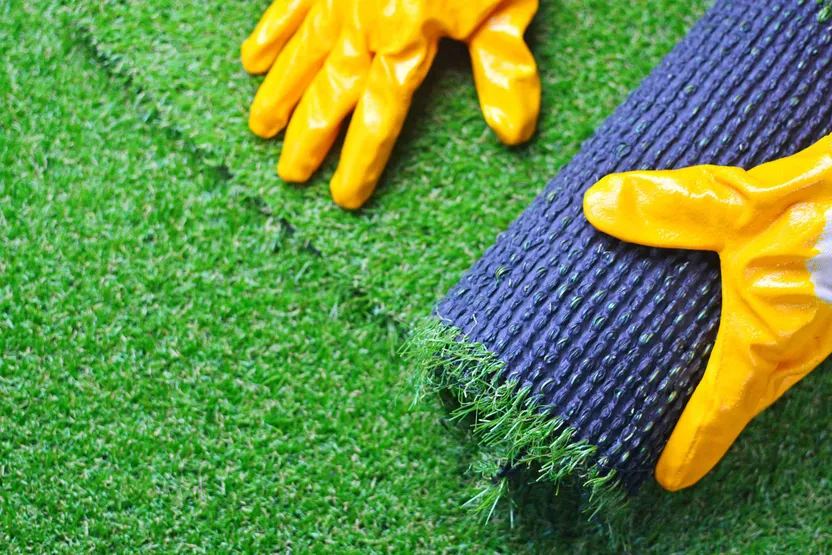
How to lay artificial grass on concrete
'/%3E%3C/svg%3E)
Guide written on 6 February 2024 by:
Jérôme, Construction site supervisor, Cardiff
Important features
- Preparing the ground for artificial grass
- Installing artificial grass and trimming
- Fixing your artificial grass in place
- Brushing the artificial grass
Best sellers in this category
Artificial grass: an easy-to-install floor covering
If you're looking to give your balcony, patio or any other outdoor space a little touch of green without spending all your free time mowing, weeding and watering, there's only one solution: artificial grass. Artificial grass looks pretty close to the real thing, is weather-resistant and less expensive than decking boards or tiles. It can be installed on any hard surface without much preparation work and can be trimmed to fit any layout.
Steps
Preparing the ground for artificial grass
Installing artificial grass and trimming
Fixing your artificial grass in place
Brushing the artificial grass
Required skills
Artificial grass is very easy to install. As long as you know how to use a utility knife and roll of tape, you're sorted! You will, however, have to cut your artificial grass to size carefully following the direction of the pile and ensure the fake turf is adhered properly (using a special tape or glue). If you want your artificial grass to stay in place for longer, use a hammer drill to install hammer-in plugs or fixing nails. Otherwise, laying artificial grass should be a quick task that just about anyone should be able to complete.
Time required
Approx. 1.5 hours for 10 m²
Number of people required
1 person
Tools and equipment
Hammer
Jointing tape
Double-sided tape or resin-based glue
Hammer drill and fixing plugs (optional)
Safety wear
Work clothes
Please note: this is a non-exhaustive list; be sure to match your personal protective equipment to the job at hand.
Brooms
1. Preparing the ground for artificial grass
To ensure your artificial grass goes down easily and neatly, the ground must first be cleared of all weeds, debris and dust. The idea is to make the surface as smooth as possible to make the artificial turf easier to stick down and ensure that rain can drain away from the grass properly. To finish off the preparation stage, spray down your surface with a pressure washer or give it a good going over with a broom to ensure it is thoroughly clean.
Best sellers in this category
2. Trimming and laying the artificial grass
Positioning and cutting artificial turf
You may need several rolls of artificial grass depending on the width of the strips and the size of the space you want to cover.
Unroll your artificial grass to cover the longest stretch of ground you plan to cover. Start against a wall if possible.
Make a rough first cut but do use a straight edge because this will be the start of the next strip!
Repeat the process, lining up the strips as you go.
Be sure to unroll the grass so that the pile of each strip is pointing in the same direction.
This is one of the most important steps so be careful! Once all your strips are laid out on the ground, adjust and trim them as precisely as possible around all the contours of your garden. Start by working around any walls and/or borders. Don't hesitate to lift the grass and use a straight edge for perfect cuts. Be sure to line up the joints properly before moving onto the next strip.
Straight edges and rules
3. Fixing your artificial grass in place
Artificial grass tape for plastic grass
The easiest way to stick down plastic grass is to use a double-sided artificial grass tape.
Lift up the edges of the grass strips and stick down your first strip of tape.
Remove the protective film from the second side of tape and lay over the grass making sure to press down on the surface to ensure it adheres properly.
Artificial grass glue
For a more durable solution, your best option is to use a resin-based glue.
Lift the grass and use a brush or spatula to spread on the glue in 15 cm wide strips.
Press down the artificial grass firmly to ensure it comes into contact with the glue. Repeat the process until you've covered your area.
Fixing plugs or nails
Whether you've gone for a temporary solution with tape or a more durable one with glue, you can ensure your artificial grass stays in place by fitting fixing plugs all around the edge of your grass.
Use a hammer drill to drill holes every 30 to 40 cm along the joints of the grass before inserting your plugs.
You might also want to use fixing pins in the corners or along oddly shaped cuts to limit any buckling or folding.
Joining artificial grass
To ensure that the seams of your grass strips lie perfectly, you will have to join them together.
Lift the strips where they join and unroll the joining tape along the ground. You can use double sided tape to temporarily fix this in place. Once in position, remove the protective film.
Lay the strips along the joining tape and apply pressure along the seams to ensure that the strips lie perfectly together with no overlaps.
Repeat the process for all joints.
Glue
4. Brushing the artificial grass
Once your artificial grass is in place, brush the whole surface using a stiff broom in the direction of the pile for a perfect finish.
Pay special attention to the joints and contours, as well as any areas along walls.
You may be also interested in these guides
Guide written by:
Jérôme, Construction site supervisor, Cardiff
Electrician by trade, I first worked in industrial estates where I installed, wired and fixed a large number of electrical installations. After this, I managed a team of electricians for this type of work. 10 years or so ago, I turned to building and construction. From the modest family home, to gyms and theatres, I have been able to coordinate, audit and organise all sorts of construction sites. For 4 years now, I am restoring and building an extension to a bungalow in the heart of the Welsh countryside. My experience in manual work and my knowledge means I am proud to be of service. Terraces, interior design, roofing, plumbing, electrics, anything goes! My wife, daughter and I, built almost everything we have from scratch! So to answer all of your questions and advise you on choosing your tools? Easy!
'/%3E%3C/svg%3E)